Architectural Assembly and Sequencing in Construct Your Home
Construct Your Home transforms architectural engineering and residential construction into an accessible, rewarding step-by-step assembly puzzle. You start each level standing before a plot of raw land marked with an engineering blueprint grid. Along the side rail rests an inventory of prefabricated building components: reinforced concrete footings, brick walls, steel support beams, glass window frames, timber rafters, and terracotta roof tiles.
Your task is to assemble each residential property following realistic construction sequencing. Building a house is not a random sticker book where items can be placed wherever you please. A second-story bedroom cannot float in mid-air without structural walls beneath it, and roof tiles cannot be laid before timber trusses are secured. Learning the proper construction hierarchy ensures every home you build is sturdy, on-budget, and structurally sound.
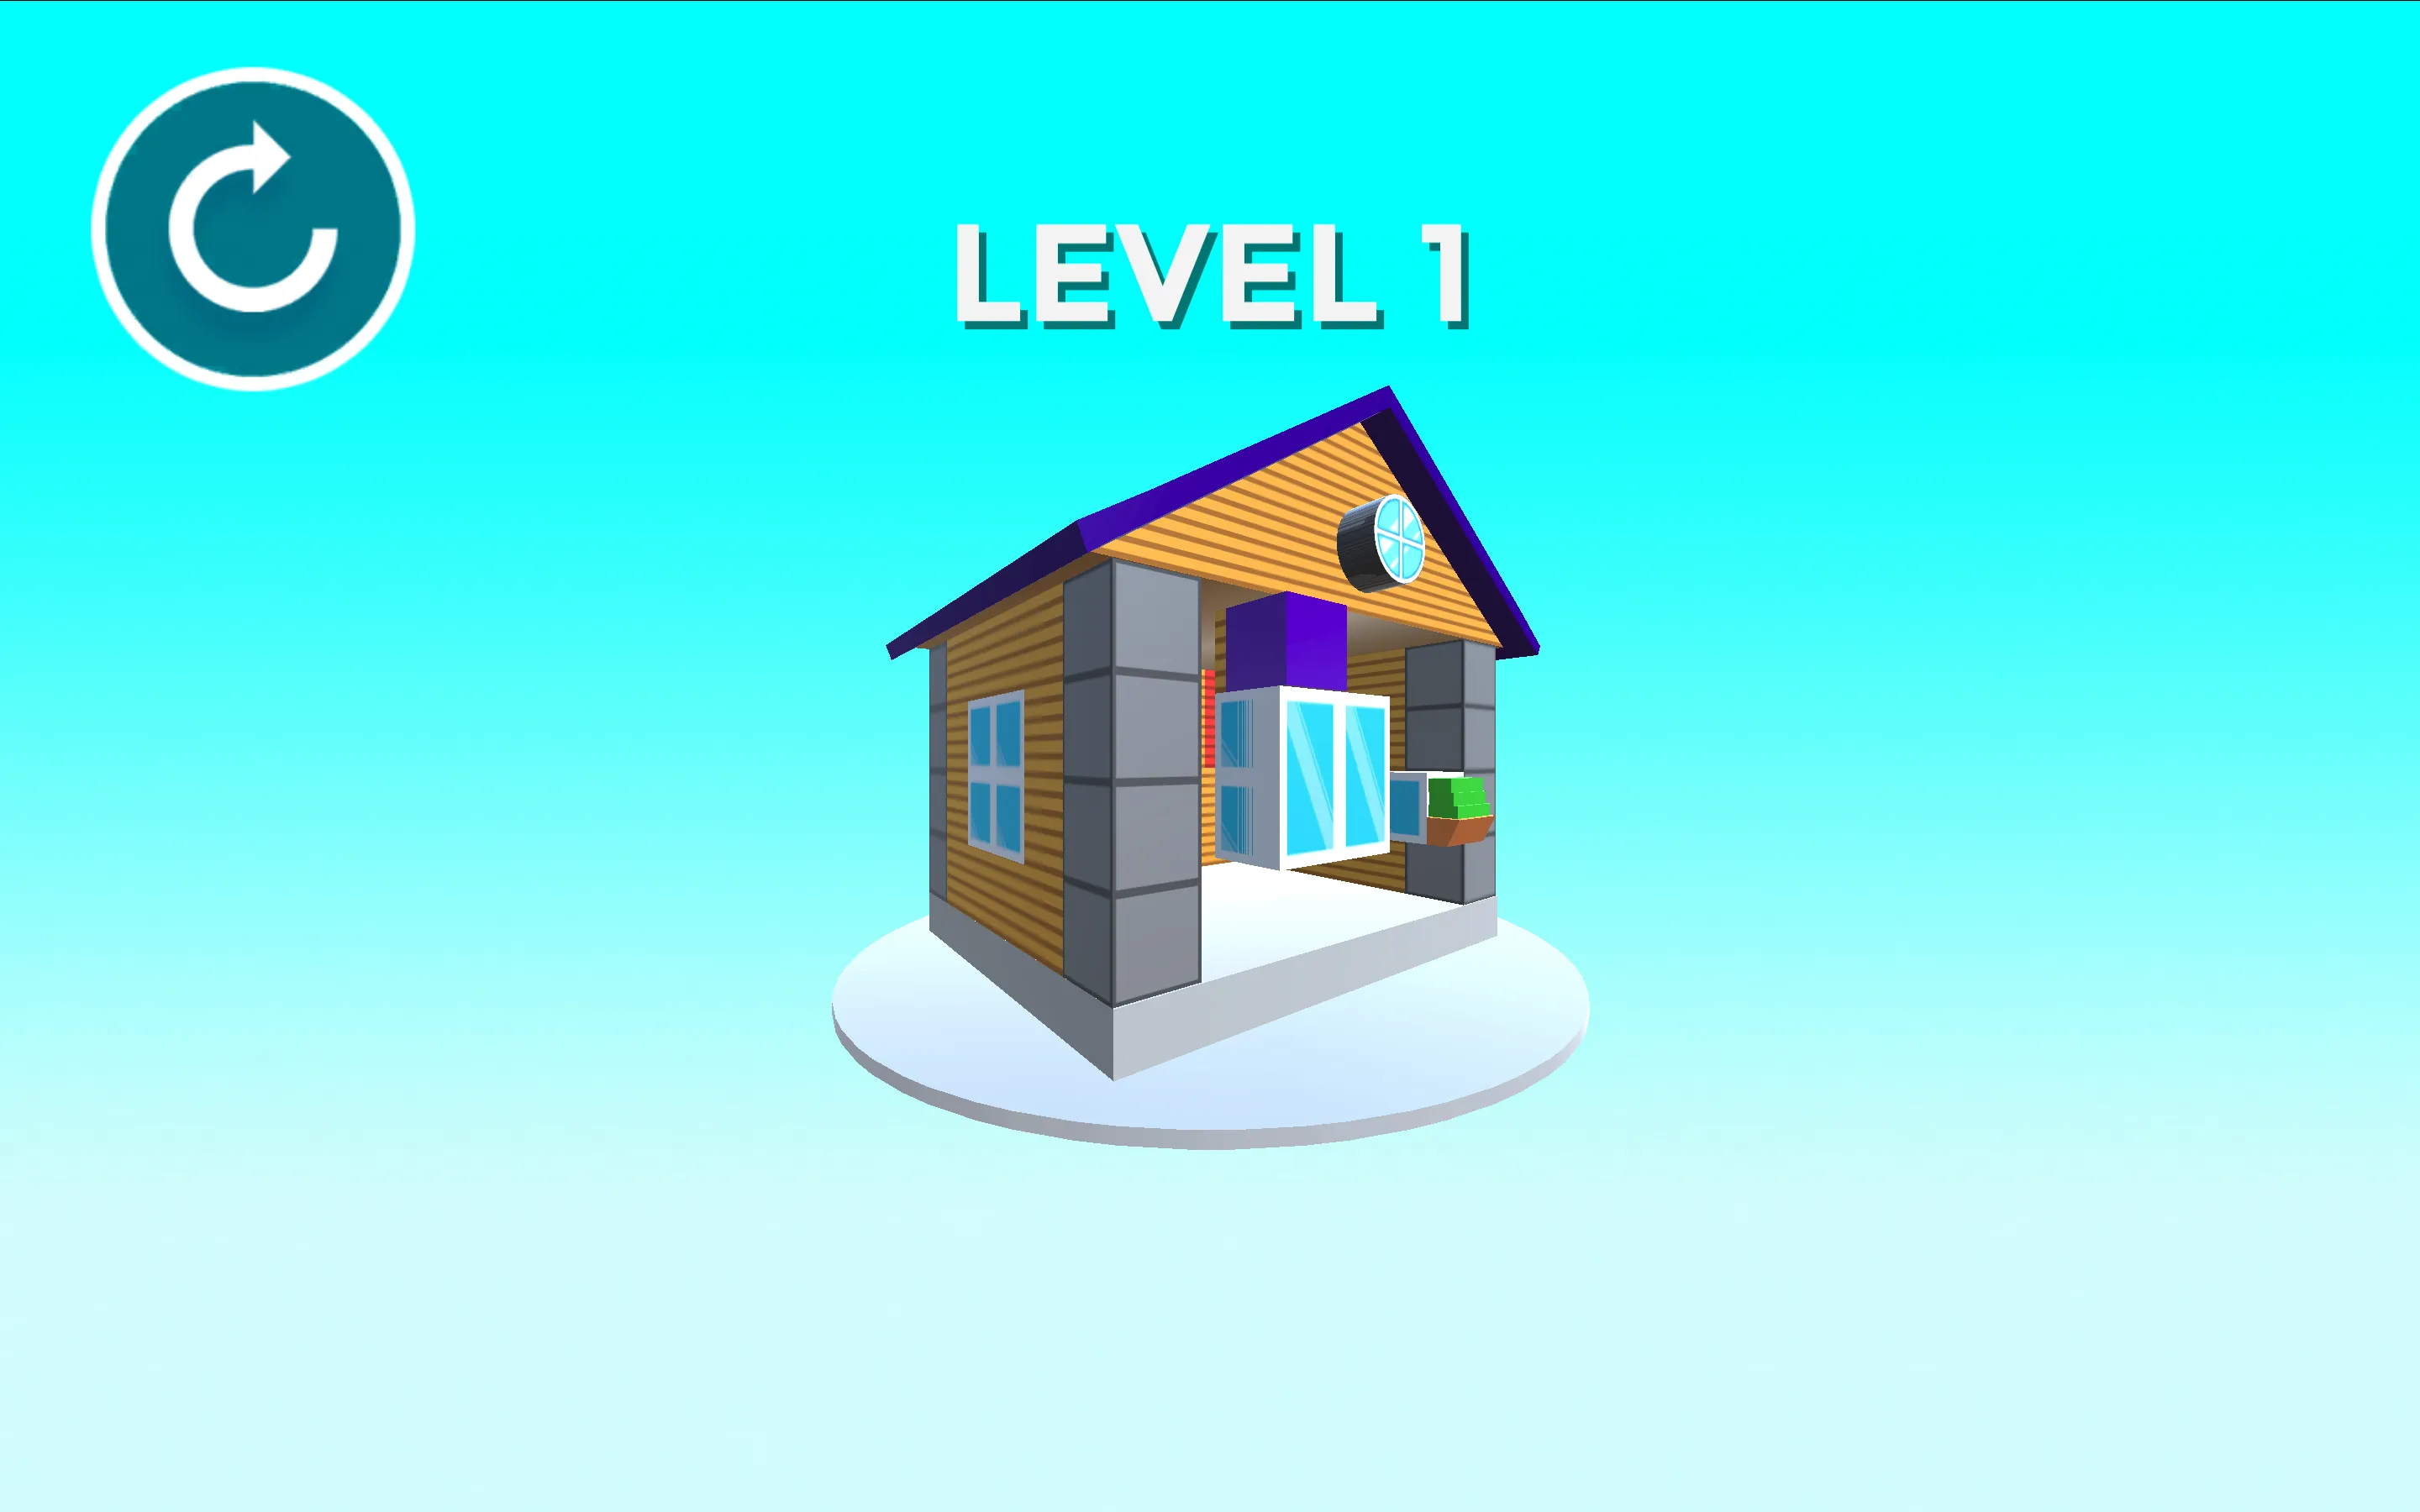
Building from the Foundation Up: The Structural Hierarchy
Every project in Construct Your Home adheres to an architectural building progression. When a new stage begins, ignore the decorative doors, chimney caps, and colorful paint buckets. Your immediate focus is the ground plane:
- Foundation Footings: Drag concrete pilings and gravel sub-base modules into the excavated trenches to establish a level ground platform.
- Load-Bearing Framing: Place exterior brickwork, corner pillars, and central support posts onto the foundation pins. These elements bear the physical weight of upper stories.
- Sub-Flooring and Windows: Once walls are anchored, slot in window glass, exterior doorways, and intermediate ceiling joists.
- Roof Framing and Tiling: Lift triangular timber roof trusses into place across the top wall plates, then shingle the surface with interlocking roof tiles.
- Finishing Details: Add exterior landscaping, patio walkways, chimneys, and paint coats to complete the project.
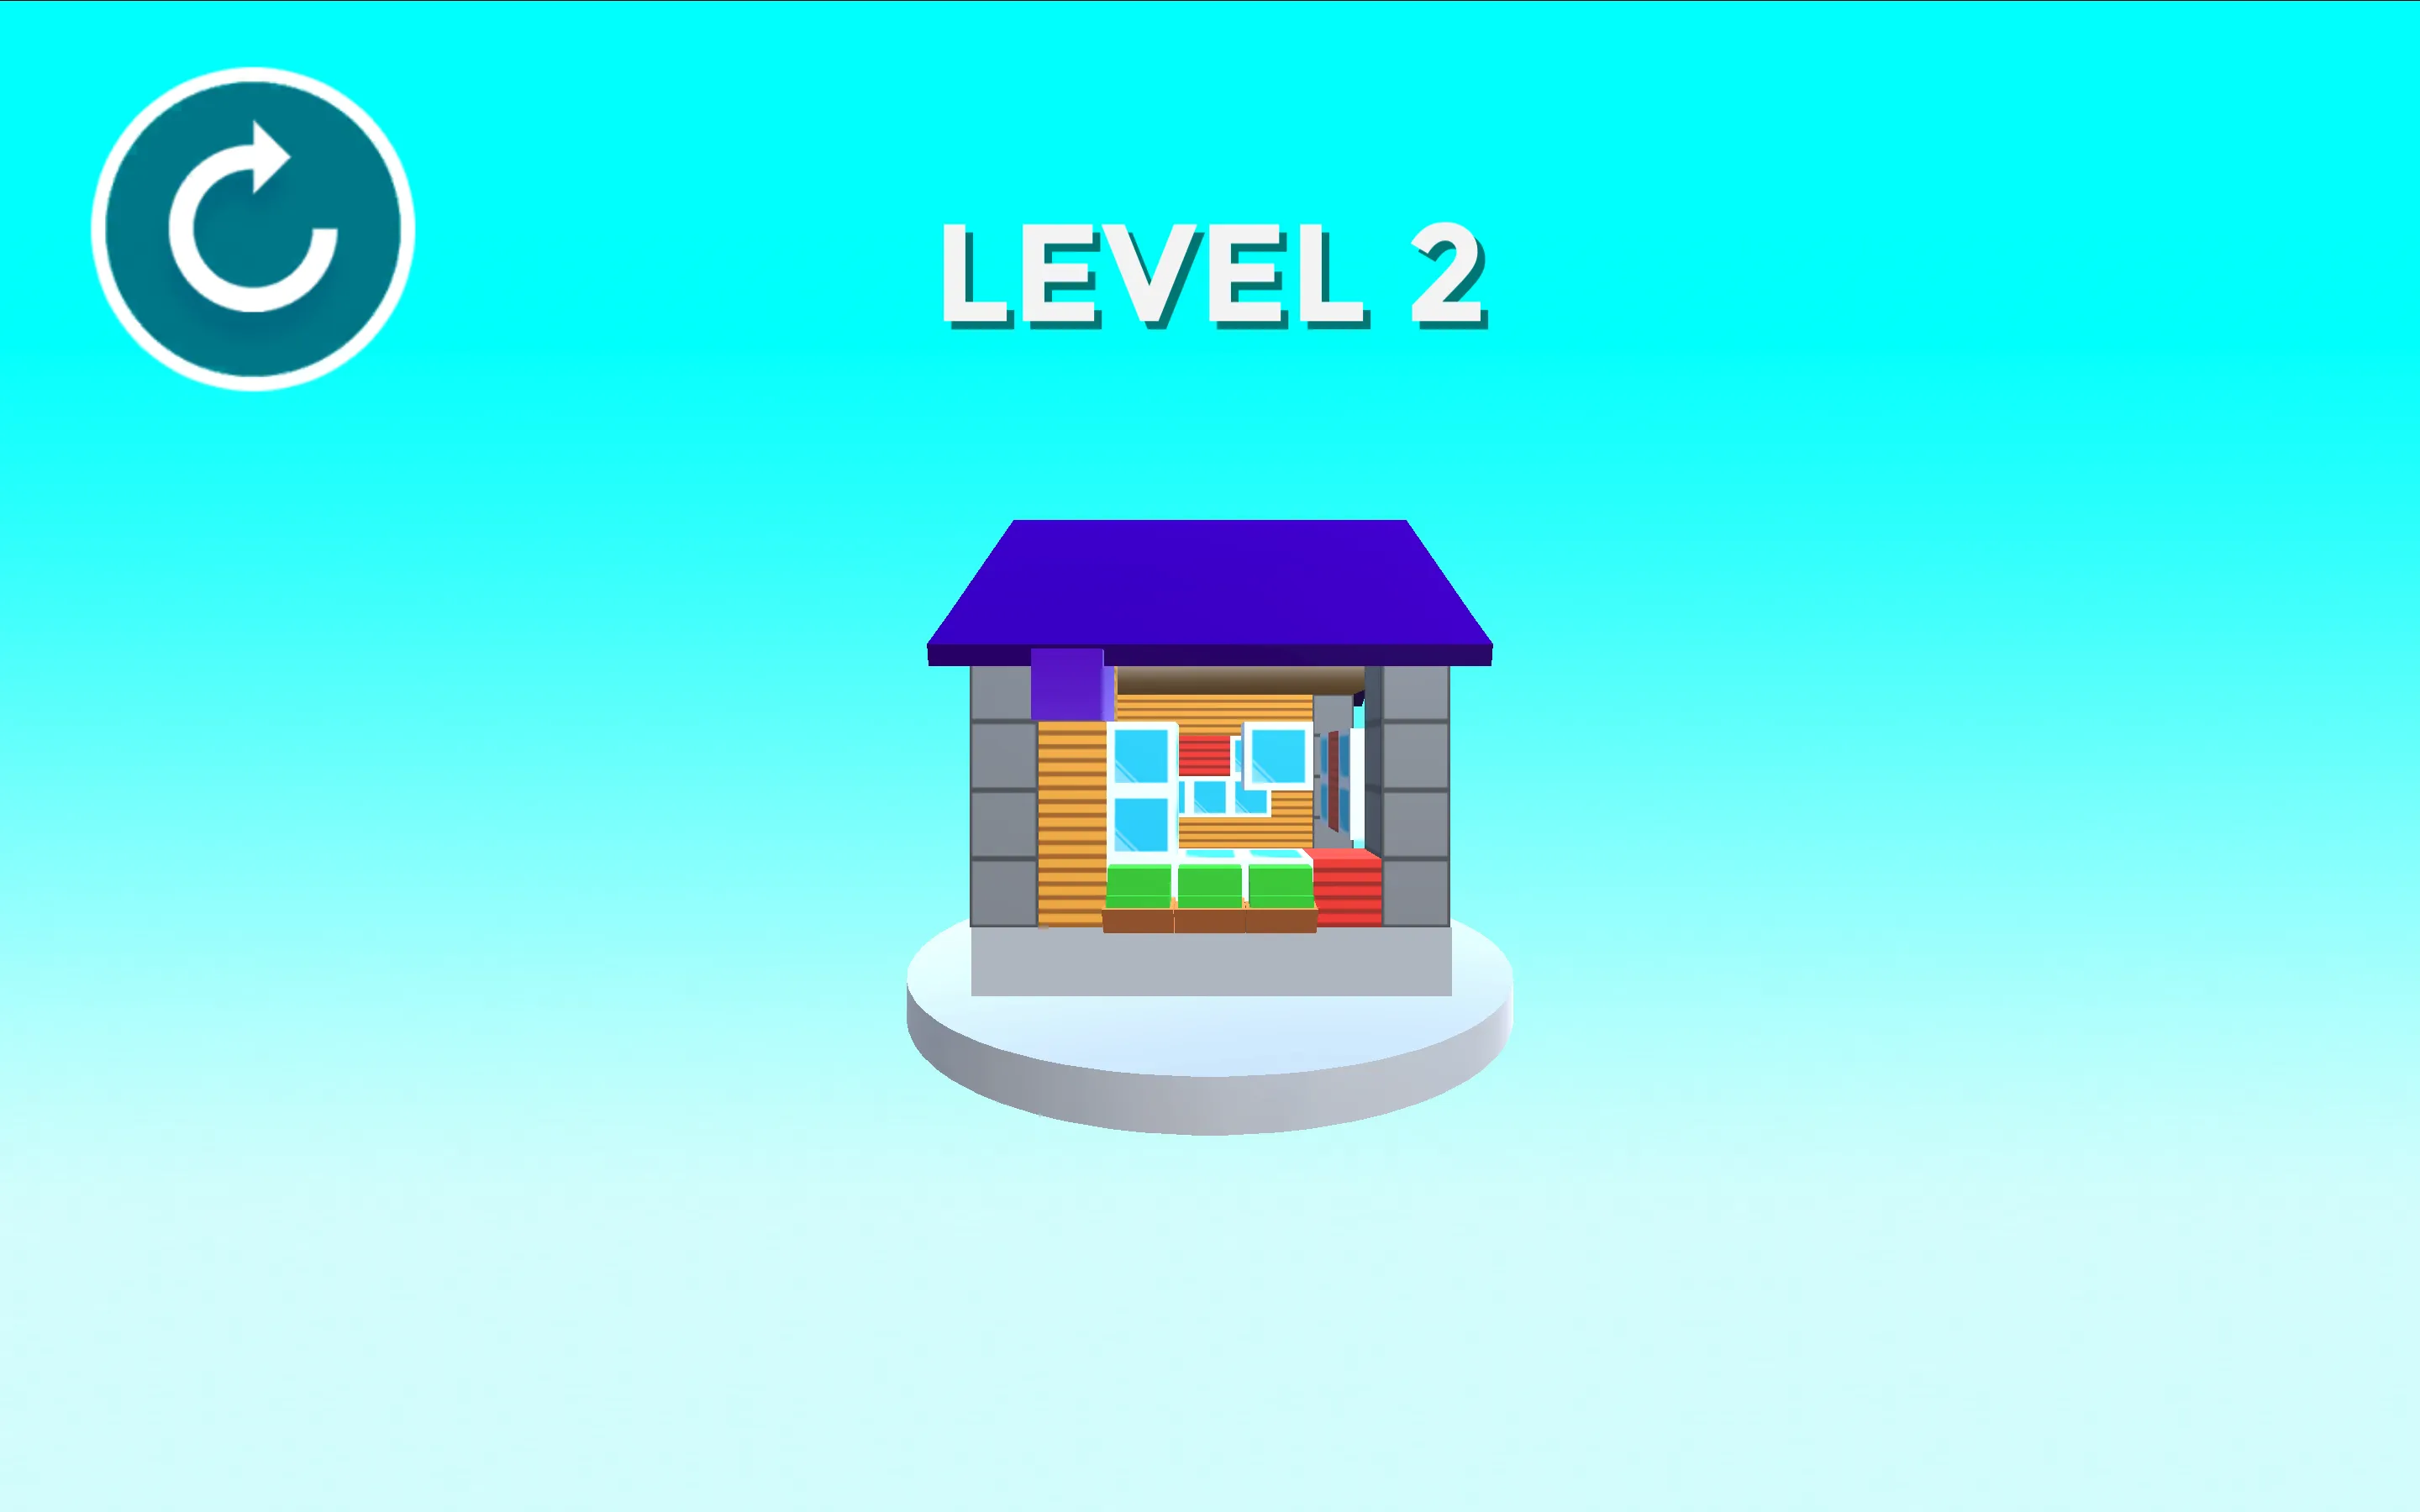
Precision Snapping and Blueprint Verification
As you drag components across the job site, hover them over candidate locations on the blueprint. When a component enters its designated structural slot, the blueprint outline illuminates with a bright green guide border. Releasing your input snaps the piece permanently into position with a satisfying construction hammer audio cue.
If an outline glows red or does not respond, double-check your construction sequence. You are likely attempting to place an upper element before its underlying support has been installed. Review the current build phase indicator in the upper corner of the HUD to verify which material category is active. Methodical, ordered assembly guarantees flawless three-star building ratings across every residential neighborhood.
Construct Your Home Strategy and Player Q&A
Why will a wall or roof piece not snap into place?
Components only snap into place once their prerequisite structural supports are installed. You cannot install a roof truss before exterior walls are placed, or mount windows before wall cutouts are anchored.
How do you know which piece to place next?
Check the blueprint slots on the job site. The active construction phase highlights eligible target zones with glowing outlines, indicating where inventory items currently belong.
Can you undo a misplaced building piece?
Yes. If you drop a component into an unintended slot, click or tap the piece to return it to your construction inventory, or use the undo button to reverse your previous placement.
Are there time limits or budget penalties?
Levels focus on relaxing, deliberate assembly without high-pressure countdown clocks. Earning three stars depends on clean placement accuracy and following proper construction order without excessive retries.