Launch Angles and Ricochet Physics in Brick Breaker
Brick Breaker takes the classic arcade concept of smashing bricks and reinvents it as a thoughtful, turn-based trajectory puzzle. Instead of frantically batting a single ball with a sliding paddle at the bottom of the screen, you control an aiming launcher that fires a continuous stream of bouncing spheres. Above you rests a descending grid of colorful numbered bricks. Each impact reduces a block number by one; when the count reaches zero, the block shatters in a satisfying burst.
The pressure in Brick Breaker comes from turn progression. Every time your ball volley returns to the launcher baseline, the entire brick wall shifts downward by one full row, and a brand-new row of high-number blocks spawns at the top. If any single block touches the bottom floor line, your run ends immediately. Surviving dozens of rounds requires mastering ricochet angles rather than relying on brute force.
The Power of Shallow Angles and Top Tunneling
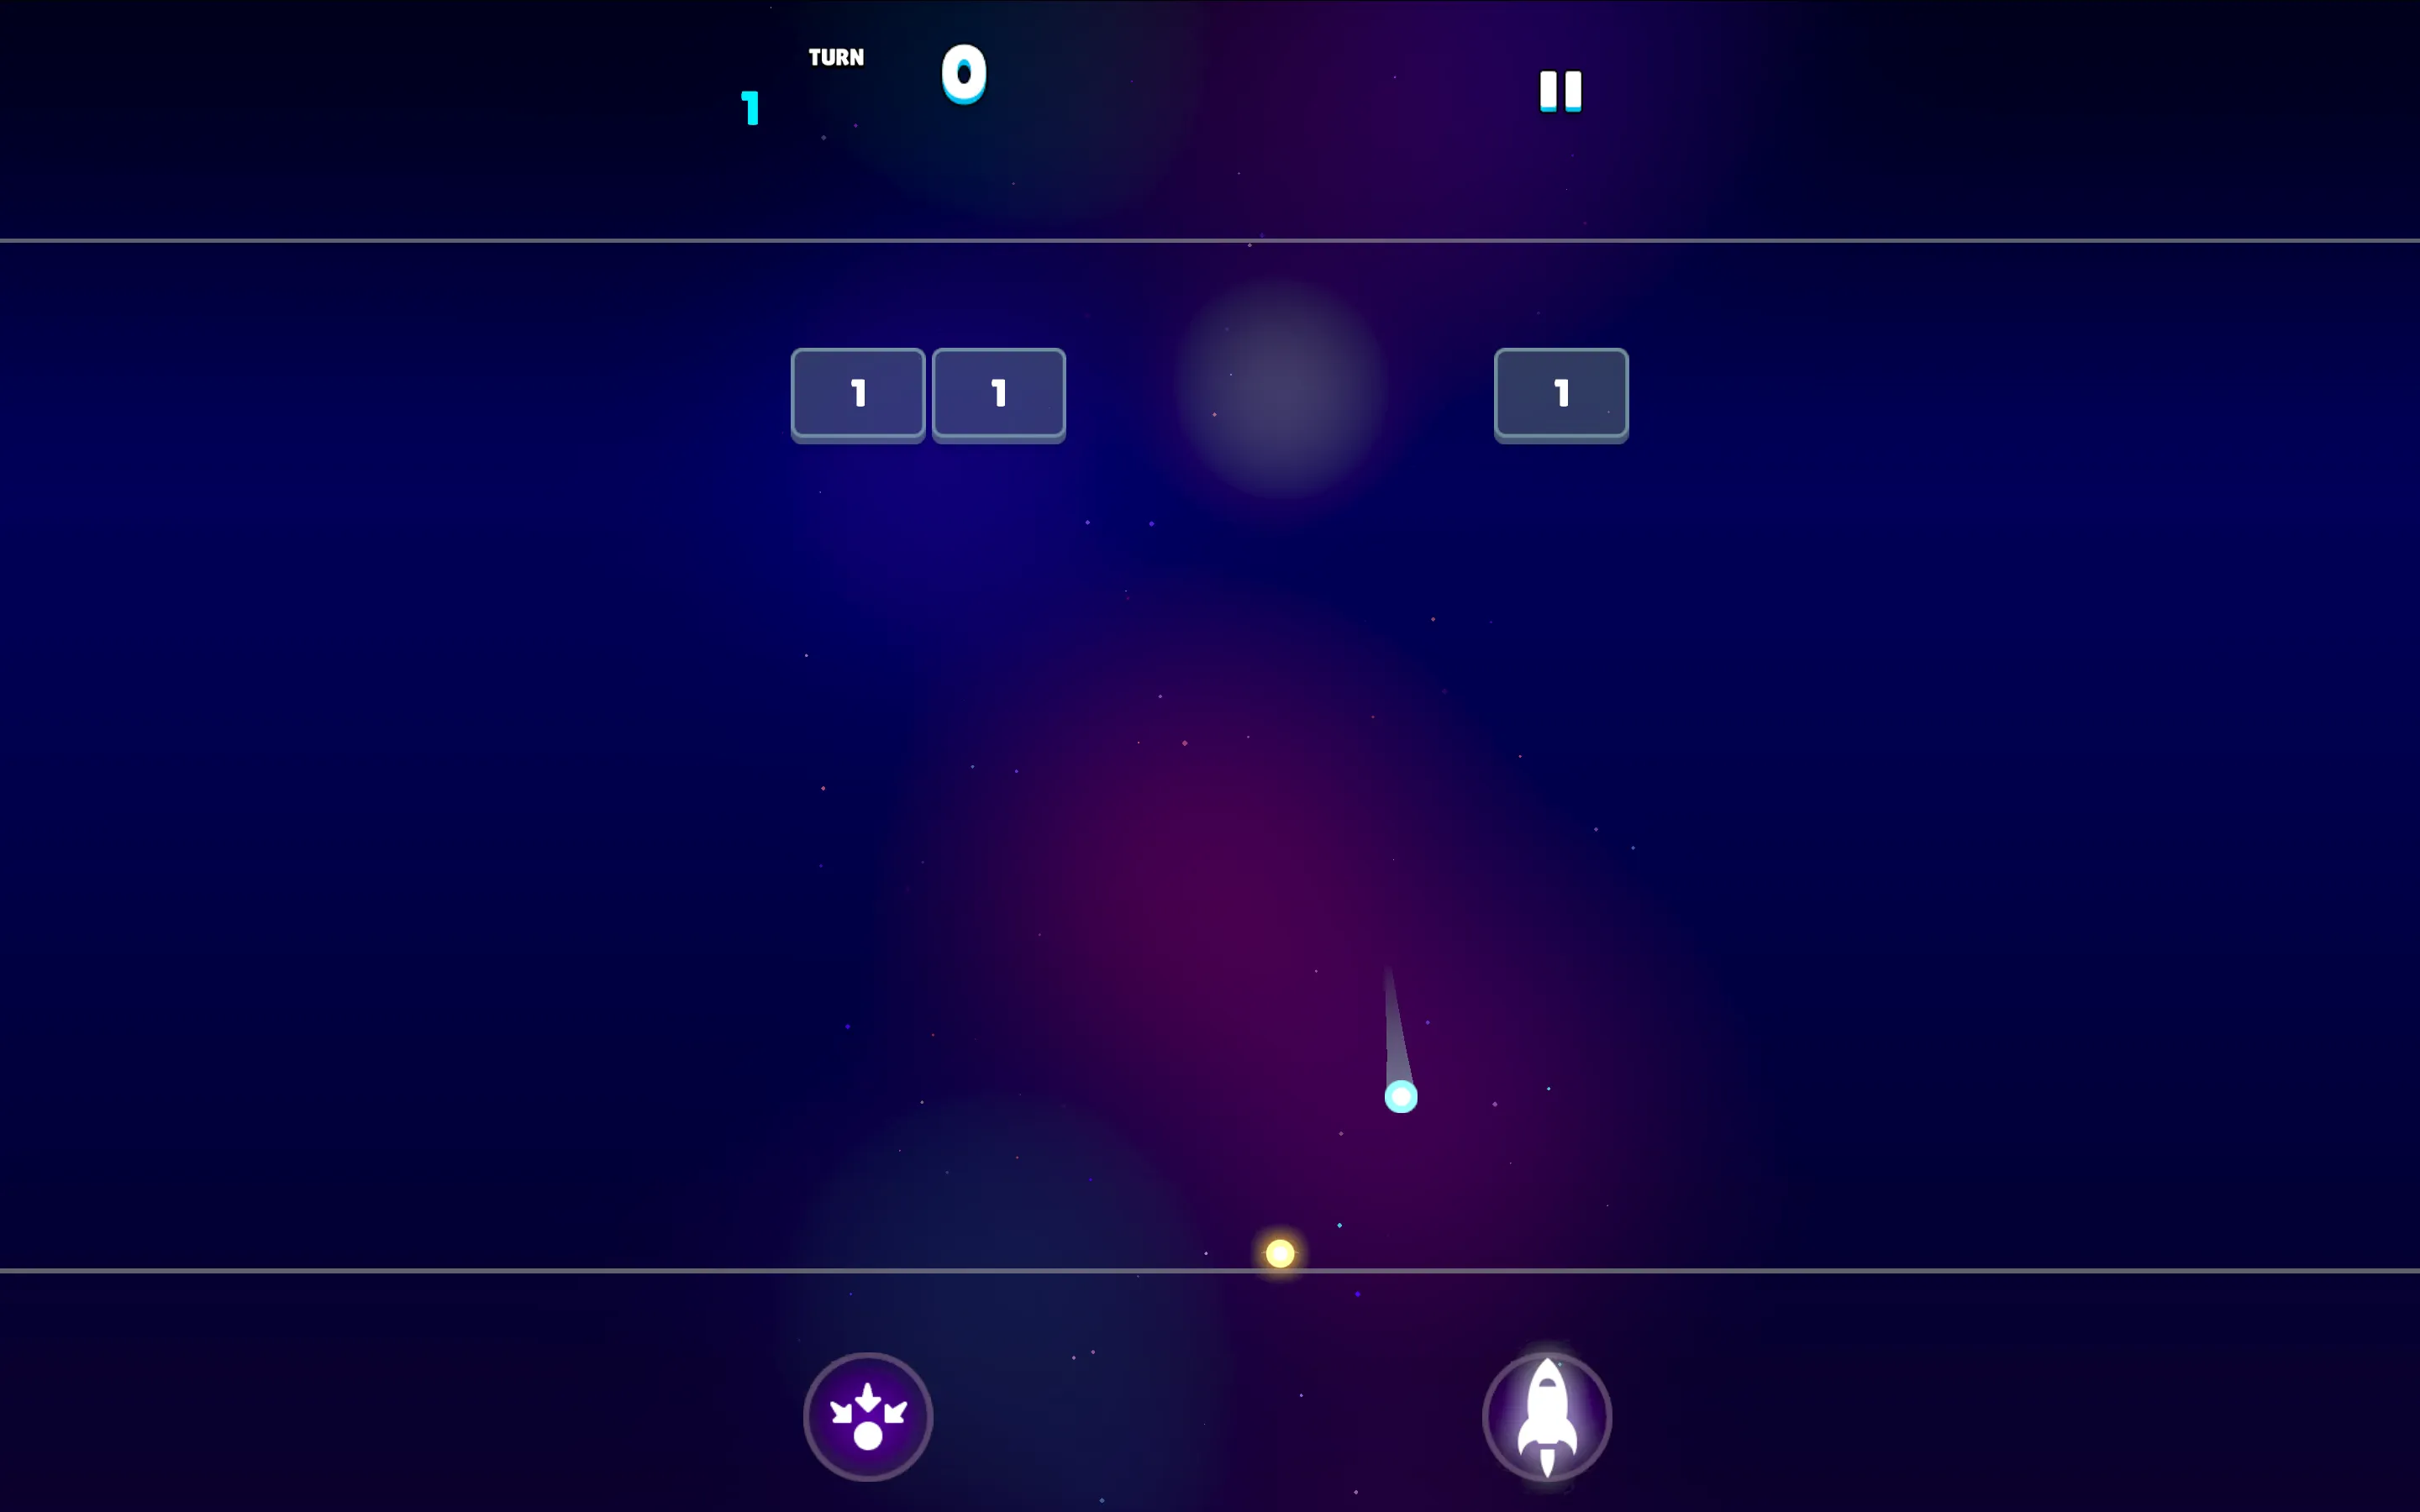
The single most important technique in Brick Breaker is tunneling behind the brick wall. When you fire straight up into the bottom face of a block, the balls rebound directly back down to the baseline after just one or two hits. This wastes your entire turn and deals negligible damage to the rest of the board.
Instead, look for acute angles along the left or right sidewalls. Bank your ball stream off the wall so the trajectory squeezes through a gap and enters the empty ceiling space above the bricks. Once trapped between the top boundary and the upper surface of the brick formation, your balls will ricochet dozens of times automatically before finding their way back down. A single well-aimed shot can shatter entire rows from behind while you watch the numbers melt away.
Expanding Volley Volume and Defending the Baseline
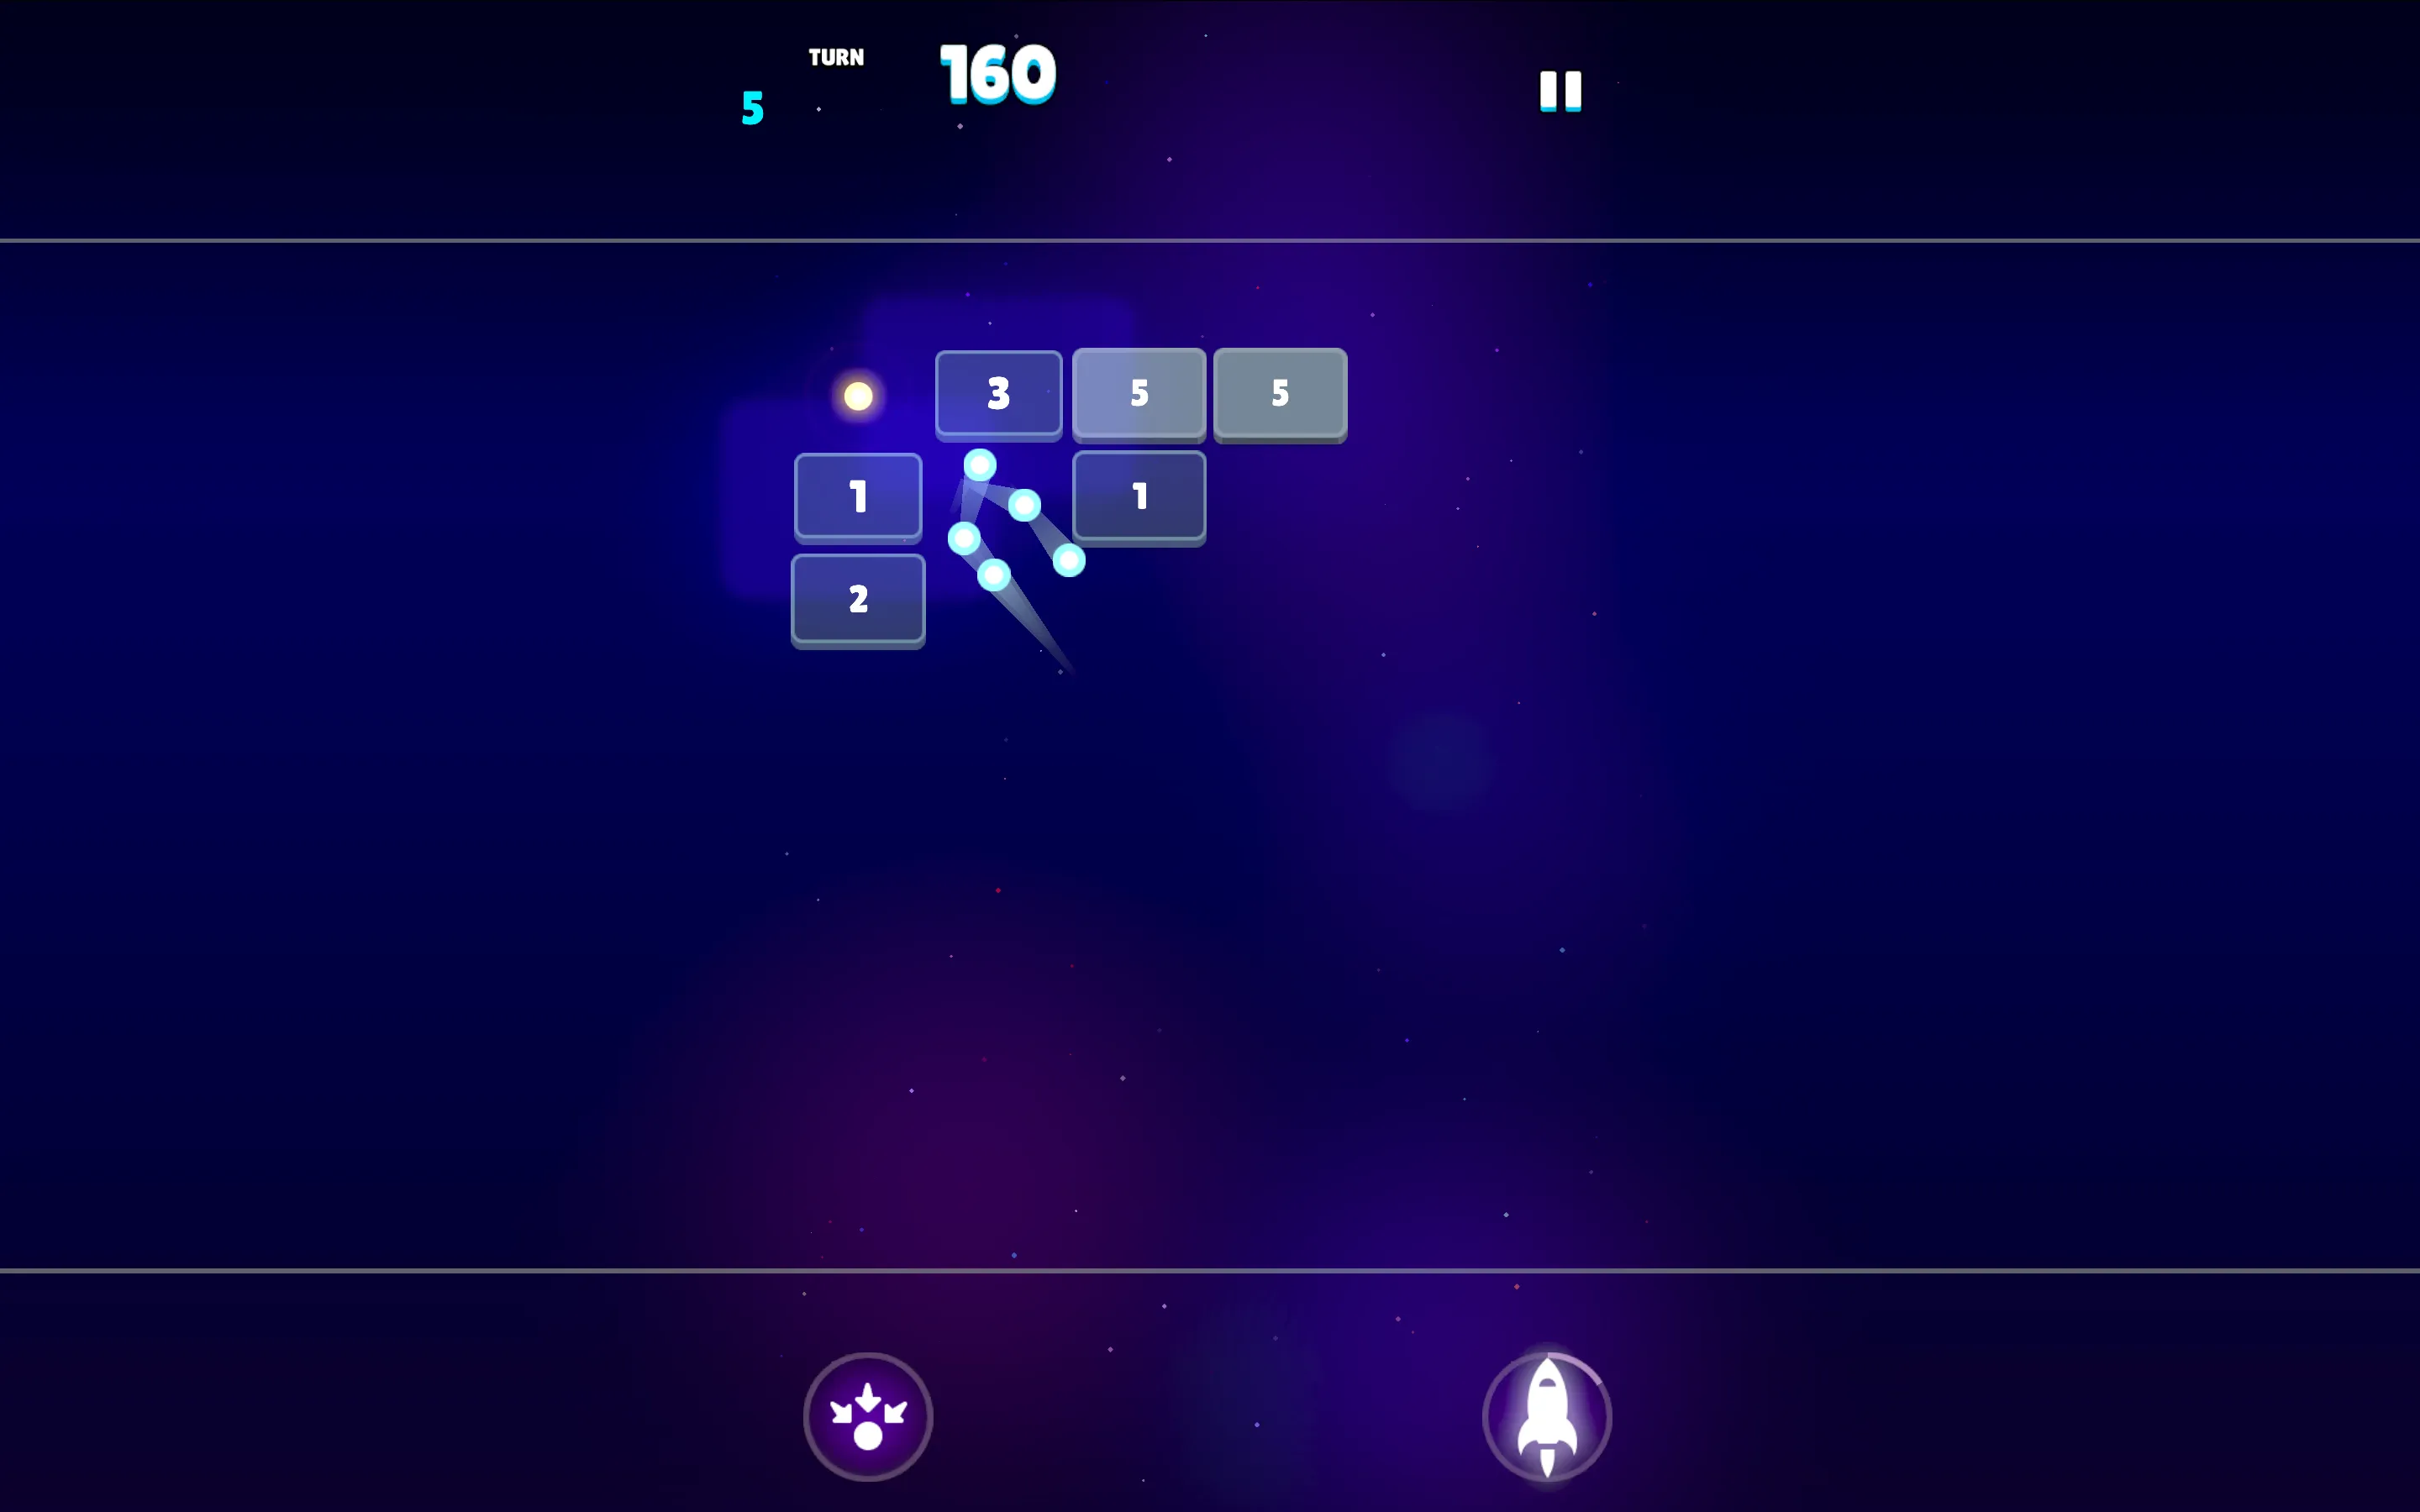
Scattered among the numbered bricks are glowing white rings containing "+1" icons. Every time a ball passes through one of these rings, you permanently add an extra sphere to your launcher volley for the rest of the game. In early turns, prioritize routes that collect these extra balls. Moving from a ten-ball stream to a fifty-ball stream increases your total damage output by five hundred percent, which is vital as block durability numbers scale into the hundreds.
However, never lose sight of your baseline defense. When a brick with a high number reaches the second-to-last row, eliminating that specific block becomes your absolute priority. Even if a flashy bank shot could clear five blocks at the top, a single surviving brick on the bottom row will end your game on the very next turn. Clear immediate baseline threats first, expand your ball pool continuously, and use sharp bank angles to conquer endless brick waves.
Brick Breaker Ricochet Strategy and Player Q&A
How does tunneling behind the top row of bricks help you?
When balls slip into the pocket between the top ceiling and the upper brick layer, they bounce back and forth in rapid succession. This trapped ricochet produces hundreds of automatic hits in seconds without wasting time traveling across the open lower field.
What happens when a numbered brick reaches the bottom line?
If any brick touches the bottom baseline where your launcher sits, the game triggers an instant Game Over. Always prioritize destroying blocks on the lowest active row before they breach your floor.
Should you prioritize collecting extra balls or destroying blocks?
In the first ten to fifteen turns, prioritize collecting white +1 ball power-ups to expand your volley size. Later in the game when brick numbers climb past fifty, prioritize eliminating low-row threats while grabbing power-ups along your natural bounce trajectory.
How does adjusting launch angles improve ricochet count?
Shallow horizontal launch angles force balls to bounce back and forth between neighboring brick faces and side walls repeatedly, inflicting far more cumulative impacts per ball than steep, near-vertical shots.