3D Wireframe Alignment and Camera Depth in Line Puzzle 3D
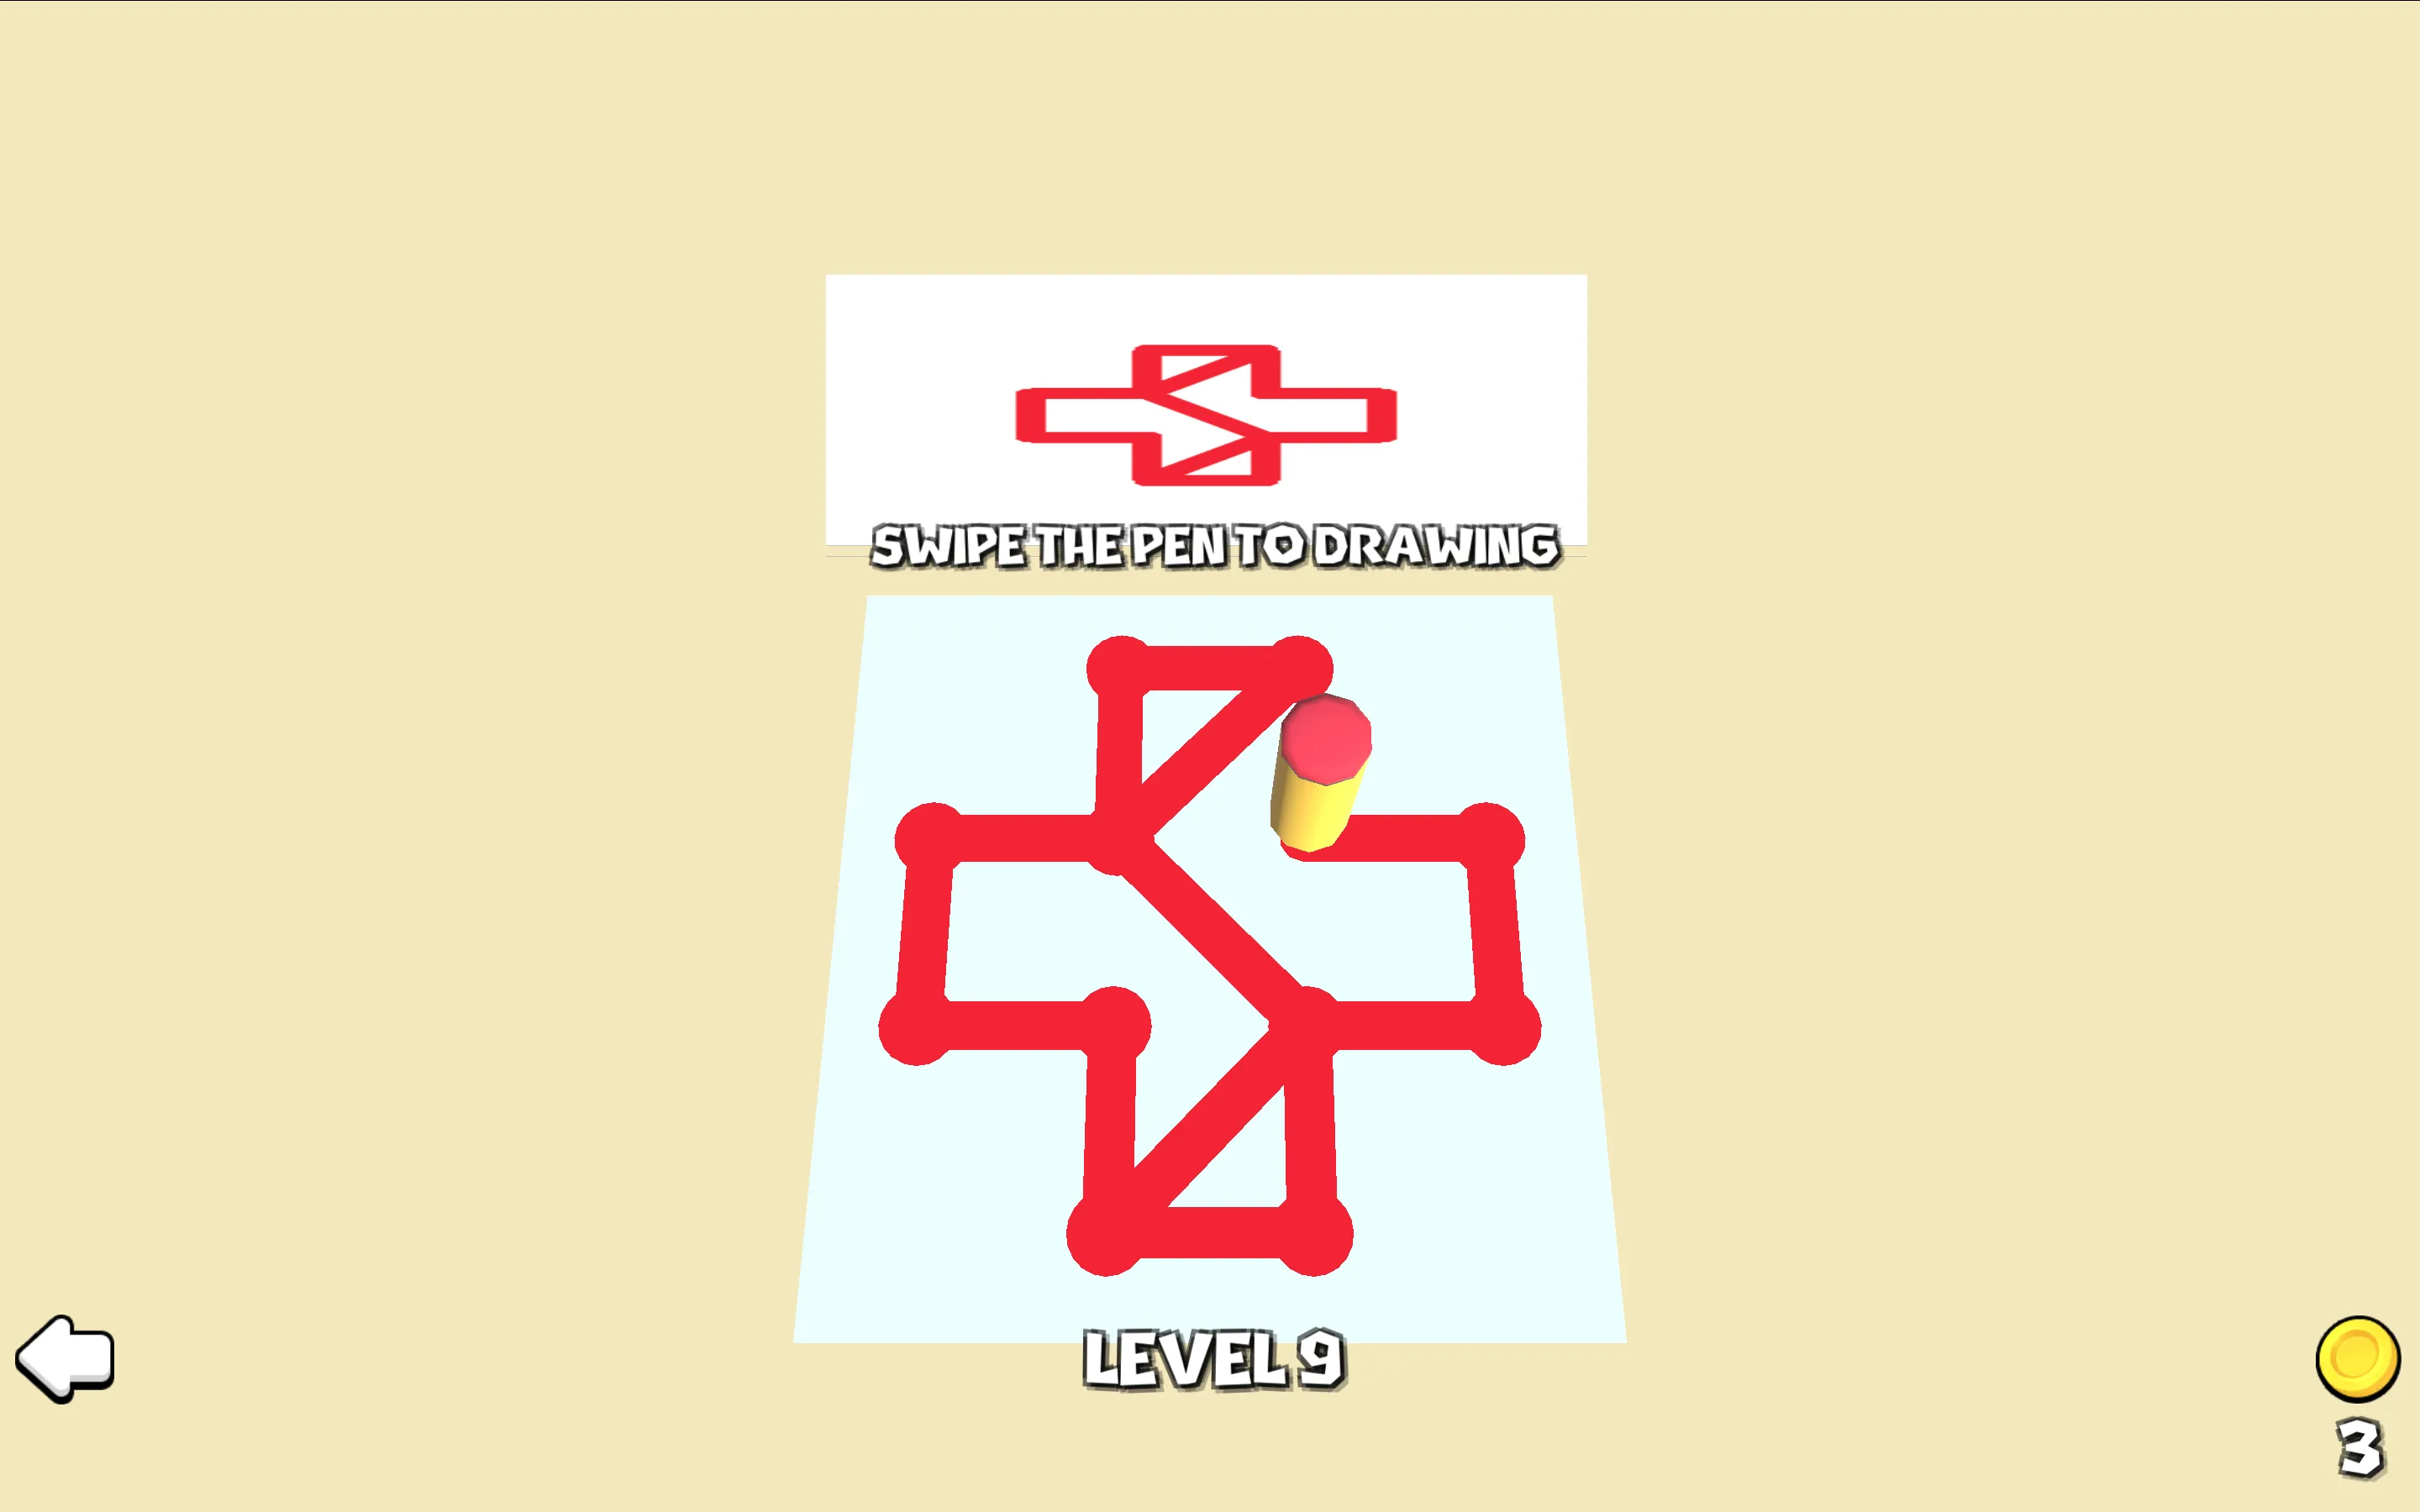
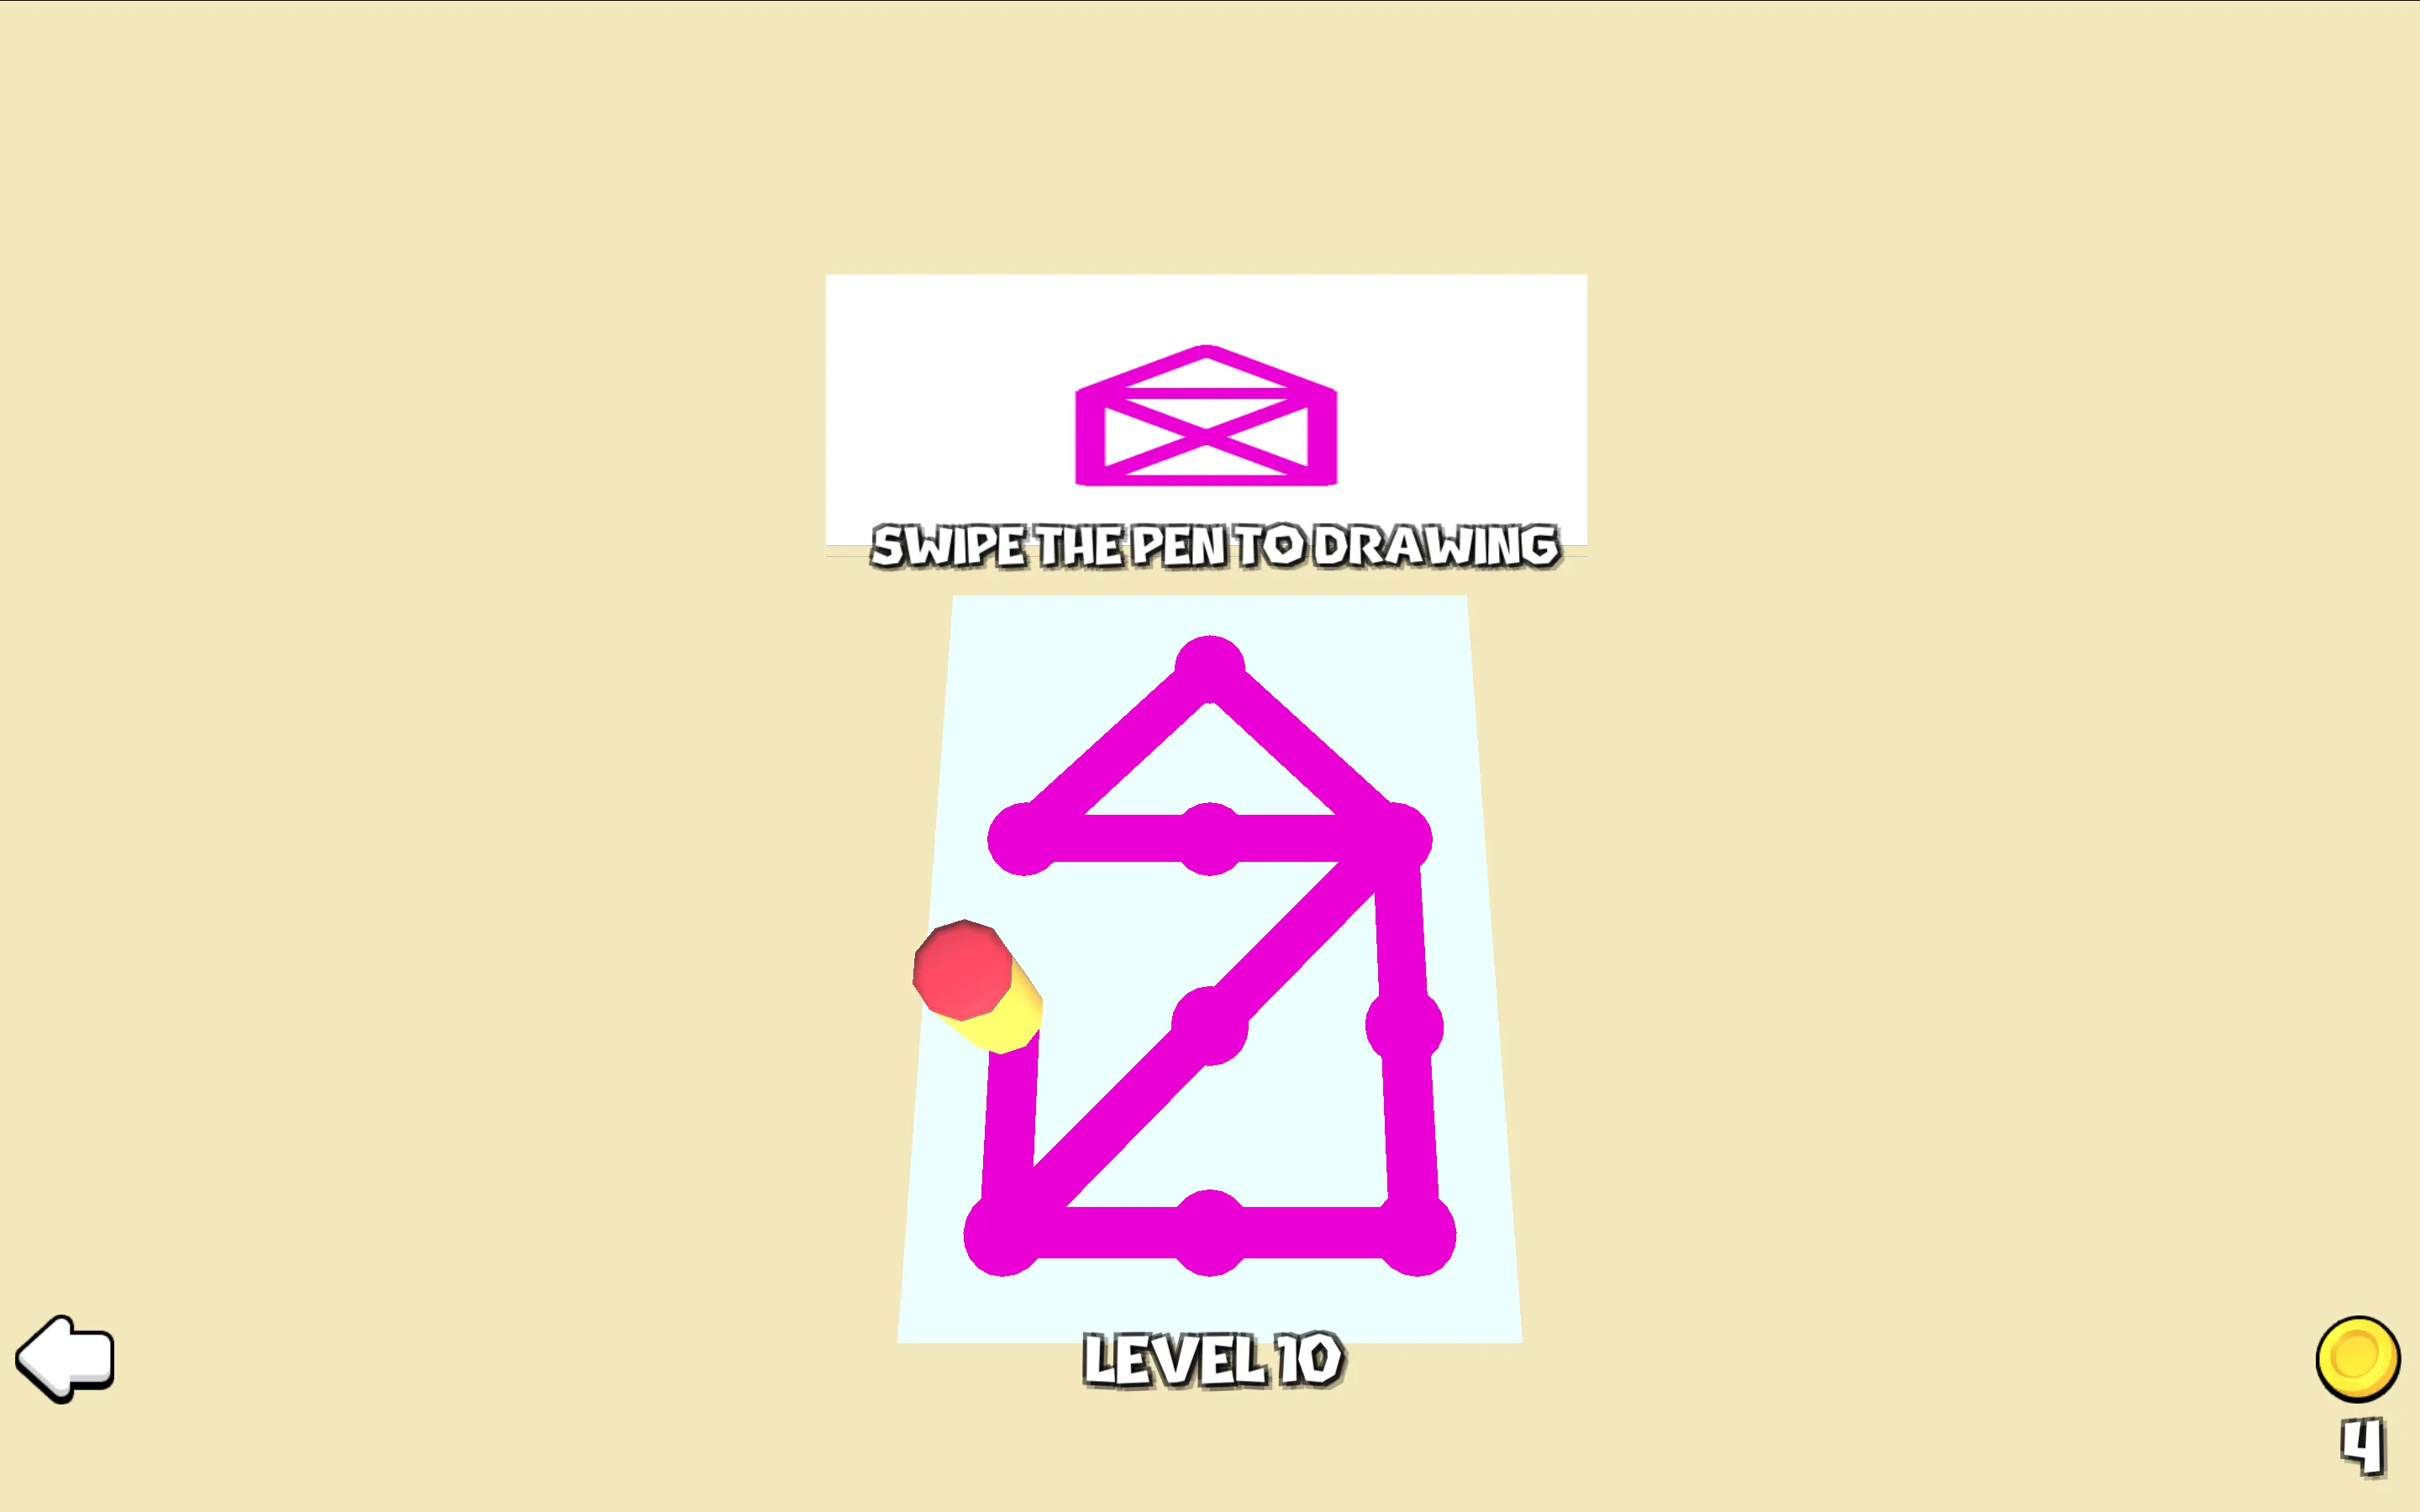
Line Puzzle 3D translates the classic string-art concept into a rich spatial reasoning puzzle. In front of you sits a three-dimensional wooden pegboard outfitted with dozens of small brass posts. Stretched between these posts is a flexible, elastic line string that can be pulled, anchored, and redirected. In the corner of the screen rests a holographic reference blueprint of a target geometric shape: a star, a cube, an animal silhouette, or a complex polyhedral wireframe.
Your objective is to drag string nodes onto the correct pegs until your assembled wireframe matches the target blueprint across all three dimensions. While this sounds simple on paper, working in 3D introduces an optical illusion challenge: a line that looks perfectly aligned from a flat frontal perspective may be offset by several inches along the depth axis. Solving boards cleanly requires treating camera rotation as a core gameplay mechanic.
The Multi-Angle Rule: Never Trust a Single Viewpoint
The single most common pitfall in Line Puzzle 3D is remaining locked in the default camera view. A player will drag three nodes onto what appear to be the correct pegs, see that the silhouette looks identical to the blueprint, and wonder why the stage clear fanfares do not play. The moment you rotate the camera forty-five degrees to the side, you discover that two of your nodes are anchored to the front pegs while the third is anchored to the rear wall, warping the shape into an asymmetrical mess.
Adopt a strict orbit habit. Every time you snap an elastic node onto a peg, click and drag the background to rotate the board ninety degrees. Check the profile view. Does the node sit on the correct vertical tier? Does the string angle match the blueprint from the side? Rotating the camera takes only a second, but it prevents you from building on top of flawed foundations.
Perimeter Anchoring Before Interior Detailing
When starting a complex blueprint with twenty or more intersecting line segments, avoid plunging directly into the center of the shape. Interior pegs are crowded, and routing cords through the middle early creates a web of overlapping strings that obscures empty pegs.
Start from the perimeter. Locate the outermost corner pegs that define the silhouette boundary: the tips of a star, the corners of a hexagon, or the baseline of a pyramid. Once these structural anchor points are locked in, the remaining playable space becomes clear. You can route interior crisscrossing segments between known outer vertices, snapping each internal node into place with surgical precision.
Line Puzzle 3D Strategy and Player Q&A
How do you rotate the camera in Line Puzzle 3D?
Click and drag on any empty background space outside the pegboard to smoothly rotate the 3D camera 360 degrees. On touchscreens, drag a single finger across the open margins to orbit your view.
What happens if you anchor a node to the wrong peg?
There is no penalty for incorrect placement. Simply click and drag the node again to detach it from the peg and relocate it to a different position, or hit the reset icon to return all cords to their starting layout.
Why did my completed shape not trigger a level clear?
If your wireframe looks visually identical to the blueprint but does not register as complete, rotate the board. One of your string nodes is likely anchored to a peg on the wrong depth plane, making the shape crooked in 3D space.
Are strings limited in length or elasticity?
Strings have generous elasticity and can stretch across the entire width of the pegboard. However, keeping paths direct without unnecessary loops around unrelated pegs ensures your wireframe remains clean and easy to inspect.